
How to Set Up a Facebook Business Page for Your Australian Small Business
Oct 06, 2025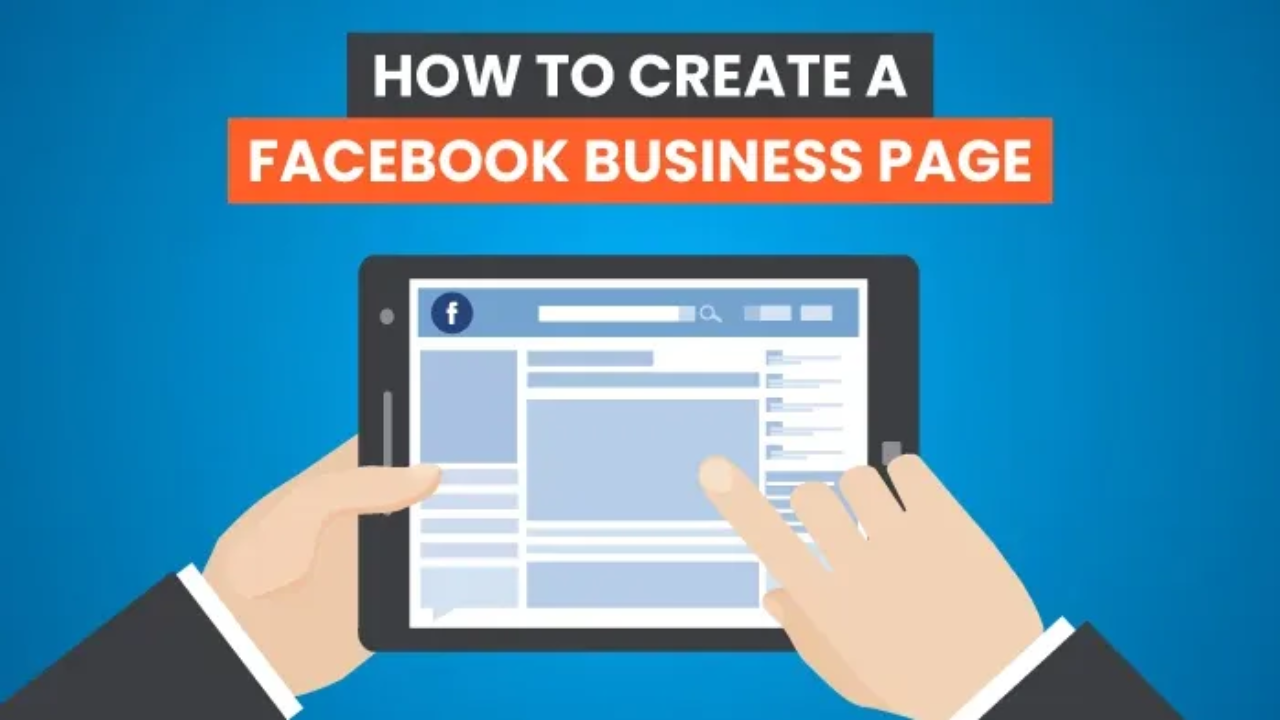
Last updated: April 2026 · Written by 20 Minute Marketing · 9 min read
Facebook remains the largest social media platform in Australia, with over 16 million active users. For any business wanting to reach local customers — particularly homeowners, families, and adults aged 35 and over — a properly set up Facebook Business Page is not optional. It is the digital equivalent of having a shopfront on the main street: not having one makes you invisible; having a poorly set up one makes you look unprofessional.
This guide covers everything you need to create a Facebook Business Page that looks professional, ranks well in Facebook's internal search, and is correctly connected to the advertising infrastructure you will need later. It takes approximately 45 minutes to set up properly from scratch. Skipping steps now creates complications down the track — particularly when you want to run ads or connect your Instagram account.
Before You Start: Personal Profile vs. Business Page
📘 Want the full picture? Read our how Australian businesses choose courses — the complete pillar guide this article is part of.
Many small business owners make the critical mistake of operating their business from a personal Facebook profile rather than creating a dedicated Business Page. This is a violation of Facebook's Terms of Service and can result in your account being disabled. More practically, personal profiles cannot run ads, cannot connect to Meta Business Manager, cannot display business information like hours and services, and cannot show in Facebook search results as a business.
A Facebook Business Page is separate from your personal profile but linked to it — you use your personal account to manage it, but the Page is its own public entity with its own audience. This is the correct structure for all business use on Facebook.
Step 1: Create the Page
Log into your personal Facebook account. From the menu (top right on desktop, or the hamburger menu on mobile), select "Pages" then "Create New Page." You will be prompted to enter:
- Page Name: Use your actual business name — exactly as it appears on your Google Business Profile, your website, and your signage. Consistency across platforms matters for local SEO and customer recognition.
- Category: Choose the category that most accurately describes your primary business type. Facebook uses this to recommend your Page to relevant audiences. You can add up to three categories — choose your most specific primary category first.
- Description: Write 1–2 sentences describing what your business does, where it operates, and who it serves. Include your primary suburb or service area and one or two keywords your customers would search. This appears in Facebook search results and below your page name.
Step 2: Upload Profile and Cover Images
Your profile photo should be your business logo. Facebook displays it as a circle, so make sure your logo works in a square or circular crop. Use a high-resolution file (minimum 400 x 400 pixels). If your logo has a white background, that is fine — it will sit against Facebook's interface cleanly.
Your cover photo is the large banner image at the top of your page. It displays at 820 x 312 pixels on desktop. This is prime real estate — use it to show your work, your team, or a clear statement of what you do. A professional photo of your best recent project, a team photo, or a lifestyle image that represents your service all work well. Avoid stock photos here: real images of real work build immediate credibility that generic stock cannot.
Canva offers free Facebook cover photo templates sized correctly for the platform. If you have followed our Canva for Small Business guide, you will already have your brand colours and fonts loaded — your cover photo should take under 15 minutes.
Step 3: Complete All Business Information
A partially completed Page is worse than no Page at all — it signals to potential customers that the business may not be active or trustworthy. From your Page's Settings, complete every relevant field:
- Website URL: Link directly to your homepage or, if you have one, your primary service or booking page.
- Phone number: Your primary business line. Ensure it matches the number on your Google Business Profile exactly — inconsistency signals to search algorithms that your business information may be unreliable.
- Email address: Use a business email ([email protected]), not a Gmail or Hotmail address.
- Physical address or service area: If you have a shopfront or office, add the address. If you are a mobile or home-based service business, add your service area suburbs instead.
- Business hours: Include all days you are available, including if you take after-hours calls. Keep these updated — stale hours create frustration and lost enquiries.
- Services: Use the Services section to list your primary offerings with brief descriptions. Facebook surfaces these in search and in Page previews.
Step 4: Write Your About Section
The About section is your Facebook SEO asset. It appears in searches and when people click "More Info" on your page. Write 150–300 words that cover: what you do, where you do it, how long you have been in business, what makes you different, and a clear call to action (call us, visit our website, request a quote). Include your suburb and service area naturally within the text — this helps Facebook's local discovery algorithm surface your page to relevant users.
Avoid writing your About section like a brochure or using corporate language. Write it the way you would explain your business to a neighbour at a barbecue: directly, specifically, and with genuine personality. According to Facebook's own guidance for business pages, pages with complete About sections receive significantly higher organic reach and discovery than incomplete pages.
Step 5: Add Your Action Button
Every Facebook Business Page has a prominent call-to-action button below the cover photo. Choose the one that best matches your primary business objective:
- "Book Now" — if you take appointments (connects to your booking system or website)
- "Contact Us" — for general enquiries (connects to your website contact page or Messenger)
- "Get Quote" — ideal for trade and service businesses
- "Call Now" — for businesses that close every lead by phone
- "Shop Now" — for e-commerce or product-based businesses
Set this button to your most valuable conversion action. Every visitor who clicks it is indicating strong interest — make it easy for them to take the next step.
Step 6: Publish Your First 3–5 Posts Before Going "Live"
A brand-new Page with zero posts looks abandoned even before you have launched. Before asking anyone to follow the Page, publish three to five posts covering the basics:
- An introduction post — who you are, what you do, and why you started the business.
- A photo or Reel of your recent work — your best example.
- A useful tip or piece of advice relevant to your customers.
- A customer review or testimonial if you have one.
- A post inviting people to follow the page and tag someone who might benefit.
This foundation makes the page look active and credible when the first visitors arrive. It also gives the Facebook algorithm something to work with — new pages with existing content receive better initial organic reach than empty pages that suddenly start posting.
Step 7: Connect to Meta Business Manager
Once your Page is live, connect it to Meta Business Manager. This is the management layer that gives you proper control over your ads, connects your Instagram account to the same ad account, and separates your business marketing activity from your personal Facebook use. Even if you are not planning to run ads immediately, connecting Business Manager now avoids a painful migration process later.
Visit business.facebook.com to set up Business Manager using your business email address, then add your new Page as a business asset.
Common Mistakes to Avoid
- Using a personal profile instead of a Page. Facebook actively suspends accounts that operate business activity from personal profiles.
- Leaving the Page incomplete. An empty About section, missing hours, or no profile photo signals an untrustworthy or inactive business.
- Using your name rather than your business name. Your Page name should be your business name, not your personal name, unless you are building a personal brand.
- Posting only promotional content. Pages that only share offers and promotions see dramatically lower organic reach than pages that mix educational, social proof, and personal content. Follow the Authority–Proof–Connection content formula.
- Ignoring Messenger. Many Australian customers use Facebook Messenger as their first point of contact with a business. Enable automatic replies and check messages daily.
Your Facebook Business Page is often the second thing a potential customer checks after your Google Business Profile. Make sure it tells the same story — professionally, completely, and consistently.
Set Up Your Entire Social Media Presence — Correctly
Our Digital Marketing Course walks you through Facebook Page setup, Instagram for Business, Meta Business Manager, and your full social media strategy — all in the right order, with step-by-step instructions built for Australian small business owners. No technical experience required.
Explore the Deluxe Course →Get the complete digital marketing system built for Australian small business.
Start with Essentials →Ready to commit to a real strategy? the dedicated Social Media Course.
The course Australian small businesses choose.
20 Minute Marketing is built specifically for Australian small business owners — local context, local case studies, and a system that fits a busy day.
Built for time-poor Australian small business owners.
You'll never need a Marketing Agency again!
Digital Marketing Courses that teach you more than an Agency ever could (or would!)